Get Started
Integrating the Google Mobile Ads SDK into an app is the first step toward displaying ads and earning revenue. Once you’ve integrated the SDK, you can choose an ad format (such as native or rewarded video) and follow the steps to implement it.
Before you begin
To prepare your app, complete the steps in the following sections.
App prerequisites
- 1.Use Android Studio 3.2 or higher
- Make sure that your app’s build file uses the following values
- A
minSdkVersionof19or higher - A
compileSdkVersionof28or higher
- A
Set up your app
Set up your app In Your AdMob Account. Register your app as an AdMob app by completing the following steps:
- Sign in to or sign up for an AdMob account.
- Register your app with AdMob. This step creates an AdMob app with a unique AdMob App ID that is needed later in this guide.
Prerequisite
You need to register with us before starting the integration. You can drop a mail to sales@adpumb.com
Steps
- Add your AdMob publisher id to the android-manifest.xml of your app: AdPumb doesn’t use your AdMob ad units. However, AdPumb uses the underlying AdMob APIs for which publisher id is mandatory. Even those AdMob accounts which are having ad limitations will work fine with AdPumb.
- Add library dependency: AdPumb is currently not hosted in maven central, hence you need to add the repository details to your Gradle script to get the AdPumb dependency resolved.
Please add the following to your build.gradle file of your app.
repositories {
    maven {
        url 'https://maven.adpumb.com/repository/adpumb/'
    }
}
dependencies {
    implementation 'com.adpumb:bidmachine:2.4.9'
    *********************
- Adding config key to AndroidManifest On AndroidManifest.xml add metadata with name ‘
com.adpumb.config.key‘ values given by us.
   <meta-data
   android:name="com.adpumb.config.key"
   android:value="{api-key provided by adpumb}" />
AdPumb will automatically initialize as the application launches. You do not need to register/init manually.
Supported formats
Interstitial
Create Interstitial placement: AdPumb is designed on the concept of placement rather than ad unit. A placement is a predefined action sequence which ends up in showing an Ad. Consider the example of a calculator, where a user presses the addition (+) button and an ad is shown. Here, we can consider the addition button click as a placement.
private void onAdditionButtonClick() {
   InterstitialPlacement addition = new InterstitialPlacementBuilder()
            .name("addition") //Name of the placement is very important. Revenue dashboard will track the placement based on the name given.
            .showLoaderTillAdIsReady(true)
            .loaderTimeOutInSeconds(5)
            .frequencyCapInSeconds(1)
            .build();
   DisplayManager.getInstance().showAd(addition);
}
In this example, if the user presses the addition button before the ad is loaded/received from the server, then a loader will be shown. If the ad is not ready within 5 seconds, then the loader will be removed. However, if the ad is already loaded or it got loaded while the loader is shown, then the ad loader will be hidden and the ad will be shown to the user.
For a particular placement, you need to create only one placement object, which can be used to show multiple ads.
For example:
private static InterstitialPlacement addition = new InterstitialPlacementBuilder()
            .name("addition").build();

public void onResume(){
  DisplayManager.getInstance().showAd(addition);
}
Callbacks: You can register callbacks to the placement.
InterstitialPlacement placement = new InterstitialPlacementBuilder()
                .name("division")
                .frequencyCapInSeconds(0)
                .showLoaderTillAdIsReady(true)
                .loaderTimeOutInSeconds(10000)
                .onAdCompletion(new AdCompletion() {
                    @Override
                    public void onAdCompletion(boolean isSuccess, PlacementDisplayStatus status) {
                        if(isSuccess){
                            Toast.makeText(MainActivity.this, "Thank you for watch the ad", Toast.LENGTH_LONG).show();
                        }else{
                            Toast.makeText(MainActivity.this, "Why you didnt watch the ad?", Toast.LENGTH_LONG).show();
                        }
                    }
                }).build();
        DisplayManager.getInstance().showAd(placement);
Customizing loader animation: You can customize the loader using the loader settings for each placement
        LoaderSettings loaderSettings = new LoaderSettings();
        loaderSettings.setLogoResID(R.drawable.arithmatic_button);
        loaderSettings.setMessageStyle(R.color.colorAccent, R.color.colorPrimary);
        //there are more options in loader settings which you can try
        InterstitialPlacement buttonPlacement = new InterstitialPlacementBuilder()
                .name("multiplication")
                .loaderUISetting(loaderSettings)
                .showLoaderTillAdIsReady(true) //this will show loader anima
                .build();
        DisplayManager.getInstance().showAd(buttonPlacement);
App Open Interstitial
App-Open Interstitial Placement Implementation:
AppOpenInterstitialPlacement appOpenInterstitialPlacement = new AppOpenInterstitialPlacementBuilder()
                .name("placementName") //Name of the placement is very important. Revenue dashboard will track the placement based on the name given.
                .showLoaderTillAdIsReady(false)
                .frequencyCapInSeconds(15)
                .onAdCompletion(new AdCompletion() {
                    @Override
                    public void onAdCompletion(boolean isSuccess, PlacementDisplayStatus status) {
                        if (success){
                            Toast.makeText(mActivity, "You have successfully watched App Open Ad", Toast.LENGTH_SHORT).show();
                        }else {
                            Toast.makeText(mActivity, "please watch App Open Ad - "+placementDisplayStatus.name(), Toast.LENGTH_SHORT).show();
                        }
                    }
                }));)
                .placementGroup("placementGroup")
                .build();

        DisplayManager.getInstance().showAd(appOpenInterstitialPlacement);
Rewarded
Rewarded Placement Implementation:
private void onAdditionButtonClick() {
   RewardedPlacement rewardedPlacement = new RewardedPlacementBuilder()
                .name("placementName")
                .loaderTimeOutInSeconds(5)
                .onAdCompletion(new AdCompletion() {
                    @Override
                    public void onAdCompletion(boolean success, PlacementDisplayStatus placementDisplayStatus) {
                        if (success){
                            Toast.makeText(mActivity, "You have successfully watched Rewarded Ad", Toast.LENGTH_SHORT).show();
                        }else {
                            Toast.makeText(mActivity, "please watch Rewarded Ad - "+placementDisplayStatus.name(), Toast.LENGTH_SHORT).show();
                        }
                    }
                })
                .build();
   DisplayManager.getInstance().showAd(rewardedPlacement);
}
Customising loader animation:
You can customize the loader using the loader settings for each placement
        LoaderSettings loaderSettings = new LoaderSettings();
        loaderSettings.setLogoResID(R.drawable.arithmatic_button);
        loaderSettings.setMessageStyle(R.color.colorAccent, R.color.colorPrimary);
        //there are more options in loader settings which you can try
        InterstitialPlacement buttonPlacement = new InterstitialPlacementBuilder()
                .name("multiplication")
                .loaderUISetting(loaderSettings)
                .showLoaderTillAdIsReady(true) //this will show loader anima
                .build();
        DisplayManager.getInstance().showAd(buttonPlacement);
Native
Native Ad Implementation
NativePlacement nativePlacement = new NativePlacementBuilder()
                .name("placement_name_here")
                .toBeShownOnActivity(this)//Activity context
                .refreshRateInSeconds(15) //native ad will refresh in 15 seconds
                .adListener(new NativeAdListener() {
                    @Override
                    public void onAdRecieved(NativeAd nativeAd, boolean b) { //refreshed units will be returned here
                        //show native ads to your layout
                        //do something
                    }
                })
                .build();

        DisplayManager.getInstance().showNativeAd(nativePlacement,activity);
Banner
AdPumb supports banner ads of various types and handles the load and refresh. Since there are multiple types, it is mandatory to mention the types you are going to use on the app in the manifest. It helps AdPumb to cache the given type before you call to show the ad. If it is not defined, then the system assumes you are going to use the default type, i.e., ANCHORED. You can define multiple types on the android-manifest, but adding more types will end up in slow loading. So, it is better to limit it to 1 or 2.
Define the banner type in android-manifest.
        <meta-data
            android:name="com.adpumb.config.banner.types"
            android:value="INLINE,ANCHORED" />
        <meta-data
            android:name="com.adpumb.config.key"
            android:value="adpumb-test,AIzaSyAx4dxazFButNiZU4_rXT8hgaJNSREfmrw,1:693299279464:android:07e16d50af2a5719e6addd" />
    </application>
In the above example, two types of banners INLINE and ANCHORED are defined.
Supported BannerType
- ANCHORED
- INLINE
- LARGE_BANNER
- MEDIUM_RECTANGLE
- WIDE_SKYSCRAPER
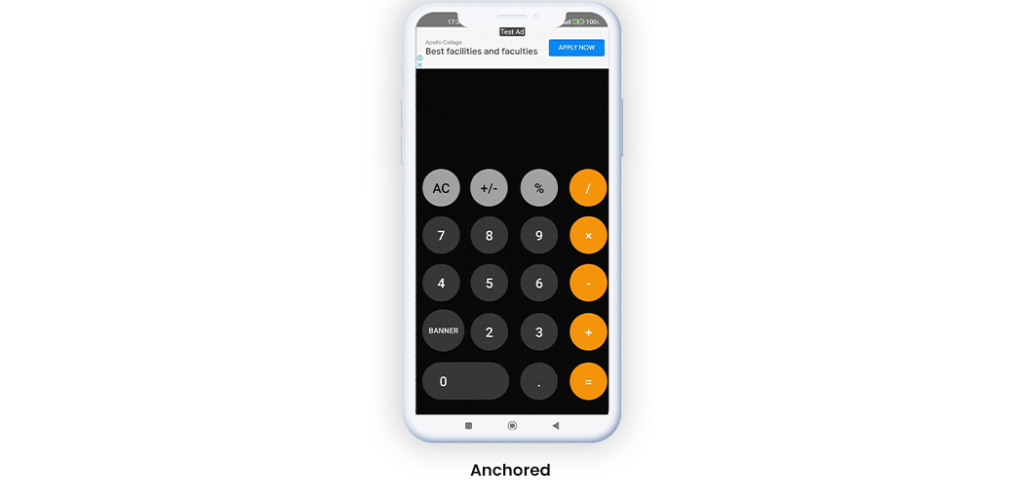
Anchored Banner
A typical use case of an anchored banner is to show an ad widget on top or bottom of the screen. The first step is to add BannerView to your layout.
<androidx.constraintlayout.widget.ConstraintLayout xmlns:android="http://schemas.android.com/apk/res/android"
    xmlns:app="http://schemas.android.com/apk/res-auto"
    xmlns:tools="http://schemas.android.com/tools"
    android:layout_width="match_parent"
    android:layout_height="match_parent"
    android:background="#000"
    tools:context=".MainActivity">
<!--    <Whatever goes here-->
    <com.adpumb.ads.banner.BannerView
        android:id="@+id/bannerContainer"
        android:layout_width="match_parent"
        android:gravity="center|top"
        android:layout_height="match_parent">
    </com.adpumb.ads.banner.BannerView>

</androidx.constraintlayout.widget.ConstraintLayout>
BannerPlacement banner = new BannerPlacementBuilder()
.name("first_banner")
.activity(this)
.size(BannerPlacementBuilder.ANCHORED)
.refreshRateInSeconds(15)
.build();
DisplayManager.getInstance().showBannerAd(banner, findViewById(R.id.bannerContainer), new BannerEvent() {
@Override
public void onAdReady(BannerPlacement placement){
// this will be called when ad ready to show
}
@Override
public void onImpressionLogged(BannerPlacement bannerPlacement) {
//this will be called when impression is registered
}
@Override
public void onAdRefreshed(BannerPlacement bannerPlacement) {
//this will be called after 10 seconds(given refresh rate) the onImpression is called
}
});
Inline Banner
As the name implies, inline banners are shown generally between the content. Unlike an anchored banner, an Inline banner has dynamic heights, meaning different ads of Inline can be of different heights.
This helps Inline to grow or shrink based on the ad content. It is also possible to set the max height of the Inline banner. However, it should be set upfront on the android manifest.
        <meta-data
            android:name="com.adpumb.config.banner.types"
            android:value="INLINE" />
        <meta-data
            android:name="com.adpumb.config.key"
            android:value="adpumb-test,AIzaSyAx4dxazFButNiZU4_rXT8hgaJNSREfmrw,1:693299279464:android:07e16d50af2a5719e6addd" />
        <meta-data
            android:name="com.adpumb.config.banner.inline.maxHeight"
            android:value="400" />
    </application>
</manifest>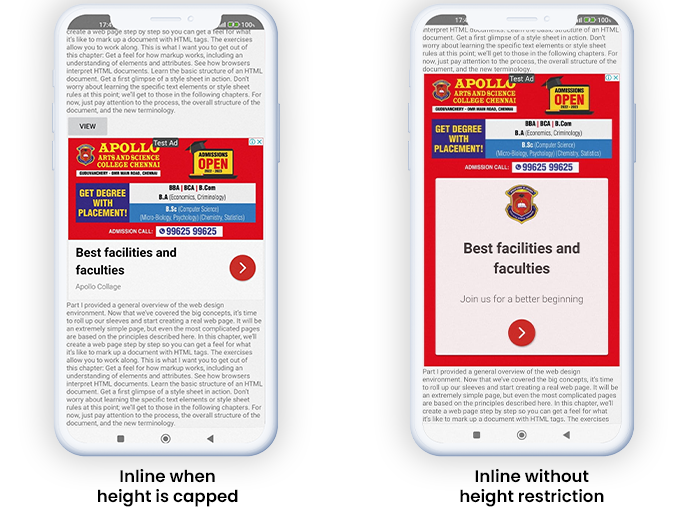
BannerPlacement bannerOne = new BannerPlacementBuilder().activity(this)
                .size(BannerPlacementBuilder.INLINE)
                .name("banner_one")
                .refreshRateInSeconds(15)
                .build();
BannerView container1 = findViewById(R.id.bannerContainer1);
DisplayManager.getInstance().showBannerAd(bannerOne,container1);
Other banner types
There are no additional steps required for other banner types. You can try them by adding them to the manifest and setting them as the size on the banner placement.

Ideal Refresh rate
There is no ideal refresh rate, however, we recommend you use 15 seconds. You can also try different values by keeping the refresh rate as a Firebase remote config parameter and checking which ones are giving you a better yield. Setting a very lower value such as 5 seconds might end up in low eCPM.
PS:Please make sure you use a different placement name for the placement created for different BannerView